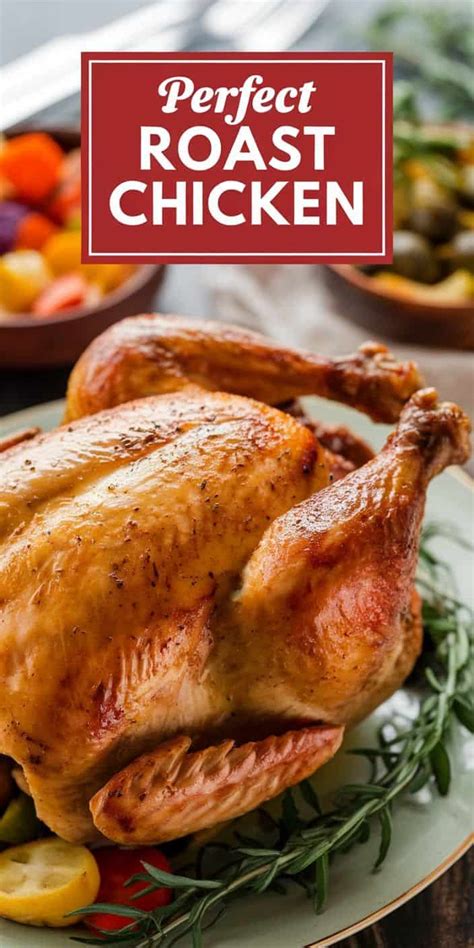
How to Cook the Perfect Roasted Chicken Every Time

Roasted chicken is a classic dish that's both simple and sophisticated, making it the perfect centerpiece for any meal, whether you're cooking for a weeknight dinner or a special occasion. The key to achieving the perfect roasted chicken lies in the right technique, seasoning, and a bit of patience. With a few straightforward steps, you can ensure juicy, flavorful meat and crispy, golden skin every time. Here's a foolproof guide to help you cook the perfect roasted chicken.
Choose the Right Chicken
Start with a high-quality chicken. Fresh, organic, or pasture-raised chickens tend to have better flavor and texture than factory-farmed birds. A whole chicken weighing between 3.5 to 4.5 pounds is ideal for roasting, as it cooks evenly and yields a good amount of meat for several servings. If you prefer, you can also go for a free-range or heritage breed chicken for a richer, more robust flavor.
Bring the Chicken to Room Temperature
For the most even cooking, take your chicken out of the fridge 30 to 60 minutes before roasting. Allowing it to come to room temperature ensures the meat cooks more evenly, preventing the outside from overcooking while the inside remains underdone. This step is often overlooked but can make a significant difference in the final result.
Pat the Chicken Dry
To achieve that golden, crispy skin, moisture is the enemy. After removing the chicken from its packaging, pat the skin dry with paper towels. This will help the skin crisp up in the oven, giving you that irresistible crunch.
Season Generously
Seasoning is key to flavor. You can go with a simple salt and pepper rub, or add more complexity with herbs, garlic, and citrus. Here's a basic seasoning blend you can try:
- Salt and freshly ground black pepper – The base of any good seasoning.
- Garlic powder or fresh garlic – Adds a savory depth.
- Fresh or dried herbs – Rosemary, thyme, sage, and oregano are all excellent choices.
- Lemon – Halve a lemon and stuff it inside the cavity for a fresh, zesty flavor.
- Butter or olive oil – Rubbing the chicken with butter or oil helps the skin brown beautifully. You can even stuff some butter under the skin for extra moisture and richness.
For a simple yet effective flavor profile, mix softened butter with chopped herbs, minced garlic, and zest from the lemon. Gently slide your fingers under the skin of the chicken and rub this mixture directly onto the meat. Make sure to also season the inside of the cavity, as well as the exterior.
Truss the Chicken (Optional, But Recommended)
Trussing a chicken involves tying its legs together with kitchen twine and tucking the wing tips under the body. While it’s not absolutely necessary, trussing helps the chicken cook more evenly and results in a more attractive presentation. By holding the bird together, it also ensures the breasts and thighs cook at the same rate.
Preheat the Oven and Select the Right Temperature
For perfectly roasted chicken, preheat your oven to 425°F (220°C). This high heat helps crisp up the skin and locks in the juices. Some people advocate for roasting at a lower temperature and increasing the heat toward the end, but a steady high temperature will give you the crispiest skin and a juicy interior.
Roast the Chicken
Place your seasoned and trussed chicken on a roasting rack in a shallow pan. The rack allows hot air to circulate around the chicken, ensuring even cooking. If you don’t have a rack, you can also use a bed of vegetables (like carrots, onions, or celery) to lift the chicken off the pan. This also adds flavor to the drippings, which you can later turn into gravy.
Roasting Time: The general rule of thumb is to roast your chicken for about 20 minutes per pound. For a 4-pound bird, this would be about 1 hour and 20 minutes. However, the exact cooking time may vary based on your oven and the size of the chicken.
To check for doneness, use a meat thermometer. Insert it into the thickest part of the thigh (without touching the bone). The internal temperature should read 165°F (74°C). The juices should run clear, not pink.
Rest the Chicken Before Carving
Once your chicken reaches the right temperature, remove it from the oven and let it rest for 10 to 15 minutes before carving. Resting allows the juices to redistribute, resulting in a juicier bird. Cutting into it immediately will cause all the flavorful juices to run out, leaving you with dry meat.
Carve and Serve
After resting, it’s time to carve your chicken. Start by removing the legs and thighs, then separate the breast meat from the ribcage. Use a sharp knife or kitchen shears to make clean cuts. Serve your roasted chicken with sides like roasted vegetables, mashed potatoes, or a fresh salad.
Tips for Extra Flavor and Moisture
- Baste periodically: If you want to go the extra mile, baste your chicken with the pan juices every 30 minutes to keep the skin golden and the meat moist.
- Stuff the cavity: If you like, stuff the cavity with aromatics like onion, garlic, lemon, and herbs. This will infuse the meat with extra flavor.
- Use a cast-iron skillet: Roasting your chicken in a preheated cast-iron skillet gives the skin an even crispiness and helps retain heat.
- Add vegetables to the pan: Roasting root vegetables like potatoes, carrots, and parsnips in the same pan as the chicken creates a one-pan meal. The vegetables soak up all the delicious drippings.